Tutorial For The
ADVANCED
PSP6 User
SIGN CARD'S
I used many idea's
in these that I have
learned from doing
wonderful
PSP tutorials I have found.

1. Open a new image 260x494
~~back ground color white~~
2.Open a new graphic you want for the
muted back ground and side border. You
can also use tubes.
3. If you use a graphic,make a copy of it(CTRL=D)
and
resize the copy to 50% of
the 260x 494 image.
(180x247)
4.Make this copy into a seamless tiled background
by your
favorite method.I use 20/20 or the FM tile
tools.
You can use the Simple filters- half wrap
and mask also.
5,Flood fill your 260x294 selection
with this muted background.
If you are using tubes add them to your
260x294 selection,
I like to add a tube image, and add
a layer.
add a tube, add a layer etc..
I also let them go past the edges.
You can use different sizes of the
same tube picture.
6.Add a new layer, to your original
260x494 image,
that you have flood filled or added the
tubes to.
Flood fill it with white and
slide the lever on the layer tools.
When you lighten it stay with a very
light shade. I stopped at about 80.
It depends on how bright the colors are
underneath.
6.From this point on you can just use your
imagination and have fun.
I added a border of 100-- Image/add border/,symmetric
checked.
I flood filled it with my original graphic
and added eye candywater drops.
Add borders, blade pro, pool filter.
Drop shadows, cut out, inner bevel..
This is a chance to use the things you
have done in many of the tutorials. Just
be creative.
I do each of mine different.
You can add the tubes here, to match your
inside tubes.
7. Add new layer,select text tool.
Add your words. Have Floating, antialias
checked
and set it on center. You can usually use
size 48 , sometimes you
need to adjust back to 36 or smaller. It
depends on your font,
and the amount of writing..
I usually have to delete mine several times
to get it the size I like.
This is the time to use those neat fonts
your friends never see because
they don't have it in their windows font
system folder..
Be sure to check out my fontspage
Before you unselect the text you can drop
a shadow,
do a cut out, use blade pro..
The
sky is the limit on this tutorial..
use your tools and filters and see what
you can come up with..
8.Layer/merge all
9.I save this just as it is, as a jpeg.
You could save a 100x100
image done in the same pattern to use as
your background,
as I have done here.
.
Usually I just put mine on a solid color
so they will stand out.
I love this big image,,but if you can't deal
with it this large,
you can always resize it and go to effects/sharpen/sharpen,
then save..
Have fun and remember to enjoy this one..
it is for fun
and
to use the different things
you have learnt.........
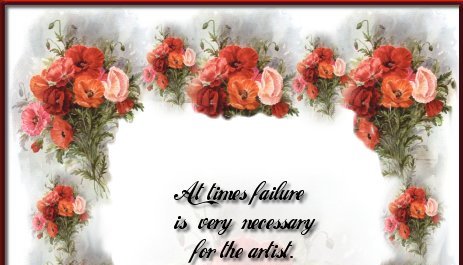
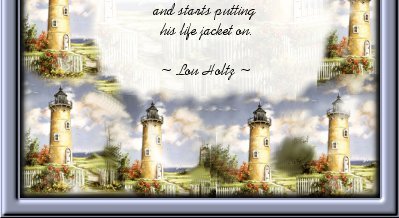
Below are some samples of what I have made.


I hope you will have
alot of fun with this!!

