By Kathie Cureington
Open PAINT SHOP PRO 6
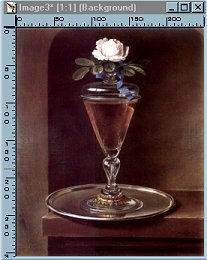
1.File\Open ...Open your graphic in PSP6 ..
Go to View\Tool Bars\check everything except Histogram.
Click "OK".. Go to View\Toolbars...
Check "Rulers.. Go to "Image\Resize\Pixel Size: 250..
click OK..
look on the bottom right corner
to see the Width and Height of your image..
You need to know the Height for step 2
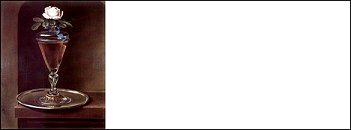
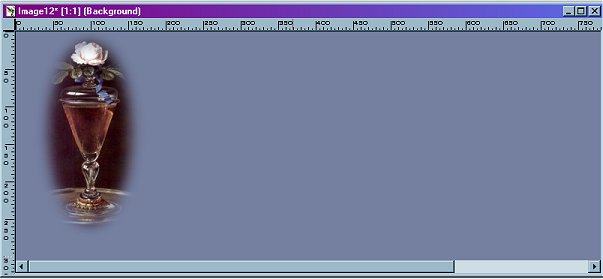
2. File\New ...Width 1024 ....
Height of Your Image ...
Background color: white3. Select your original image, go to Edit\Copy..
Go to the New 1024 white image ...
Edit\Paste as a new Layer
and position it where you want it
by holding down the LEFT mouse button
while moving it to the left corner.4. Go to Layers/Merge/ Merge All/Flatten 5. Use your selection tool
(6th tool between the "Move" tool and The "Lasso" tool) .
On the Tools Options Palette (on the right)
use any shape you like to select the area in your image,
by holding down the left mouse button while you make your selection( remember, do not get too close to the edges when you select)
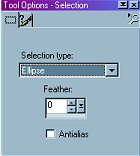
6. Choose Selections/Modify/Feather 18 pix.
(you can go to Edit\Undo if the slection is too big of an area
,and repeat the "feather" by choosing a number smaller than 18)

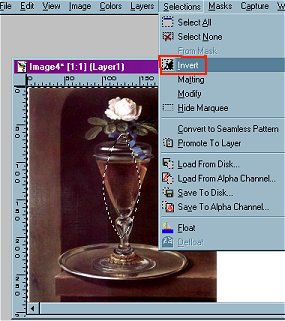
7. Choose Selections /Invert
8. Set your background color
to a color you want your graphic to fade into,
by selecting the Eye dropper Tool,
and right clicking on a color in your image .
9. Hit "Delete" on the keyboard.
Selection/Select None10. Use your selection tool
(6th tool between the "Move" tool and The "Lasso" tool)
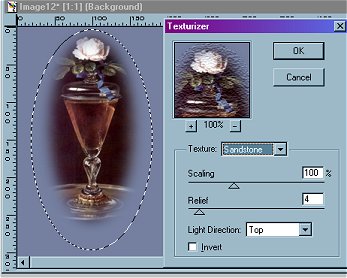
and select your colored area.11. Image/Plugins/Texture/Texturizer....
and choose the texture you want.
12 . Selections\Select none
13. Now Lets add some Text on the side.
I like

but you can use any font you like.Select the "TEXT" tool (18th tool..the Capital "A")
click on the "A" and LEFT click on the image
to open the "Text" window.
Type the text in the White Text window..
Highlight the text Select text/size/ color
from your text box.
Floating checked/antialias checked.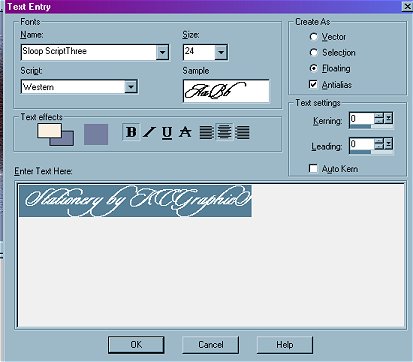
14. Click O.K.
15. Go to Image/Rotate/left/ 90 degrees/OK
16. Move the text to the position you want it .
17 .Go to Image/Cutout
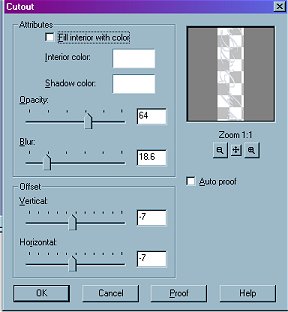
18. Selection/Select none
19--Save-- File/Save As
For another way to make Cutout Text on a colored
Background, please go to the Next page.